All About Fuo News

Water Damage Restoration - Identify the extent of the water damage

Nov 22

Before you start any water damage restoration, the first thing that you need to do is identify the extent of the damage. This may sound simple but it’s a very important step in starting water damage restoration work.
Identify where the source of the flooding was exactly and how it occurred. Check for any appliances which might have caused or contributed to water damage in your house. Is there any indication whether external sources are also causing effects inside your home? Check the floor and other places to see if there are any other signs of water damage.
– Is there water seeping from under your doors?
– Is there a high humidity level in your home?
– Does it smell musty?
These are signs that indicate you should immediately contact a professional. Also check for visible signs of mold or discoloration on your walls, ceilings, floors, furniture, and other belongings as well as dark spots which could be rust stains on surfaces such as sinks and bathtubs. These may take time to develop but they’re always the first sign that something has gone wrong with your house. If you’ve suffered from severe flooding or it has been happening for quite some time already then there may already be mold and mildew in your home.
– Is there a noticeable difference in the color of your walls or ceilings?
– Does it feel spongy underfoot?
If you find signs of mold and mildew, water damage restoration should be immediately started. Mold and mildew can spread very fast and they may not be apparent to the eye at first glance but if you know what you’re looking for then chances are that you’ll quickly identify any signs of mold and mildew growth which is why these things should never be left unattended.
Furniture will also need to be checked carefully so take the time to thoroughly inspect your sofa, chairs, bedding, and other pieces including flooring materials such as hardwood or laminate. If you’ve had the misfortune of having your house flooded due to sewage damage, all contaminated items must be discarded immediately.
Prevention is always better than cure
This is one of the golden rules that should never be ignored. Water damage restoration can be very costly and while it’s also necessary if your home has suffered from flooding or any kind of water damage but there are quite a several things that you can do to prevent issues like these from happening in the first place. The following are some precautionary measures that you might want to consider:
– Avoid placing plants where they may fall on electrical appliances such as air conditioners, washing machines, dishwashers, etc.
– Prevent children from playing near open windows so they don’t fall out.
– Always make sure that all electrical appliances are kept off the floor and at a safe height whenever they’re not being used.
– Use carpets or rugs on any wet areas on your floors to prevent slipping. Also, make sure that you dry up wet surfaces as quickly as possible because moisture may lead to mold and mildew growth which will need water damage restoration work to be fixed as soon as possible.
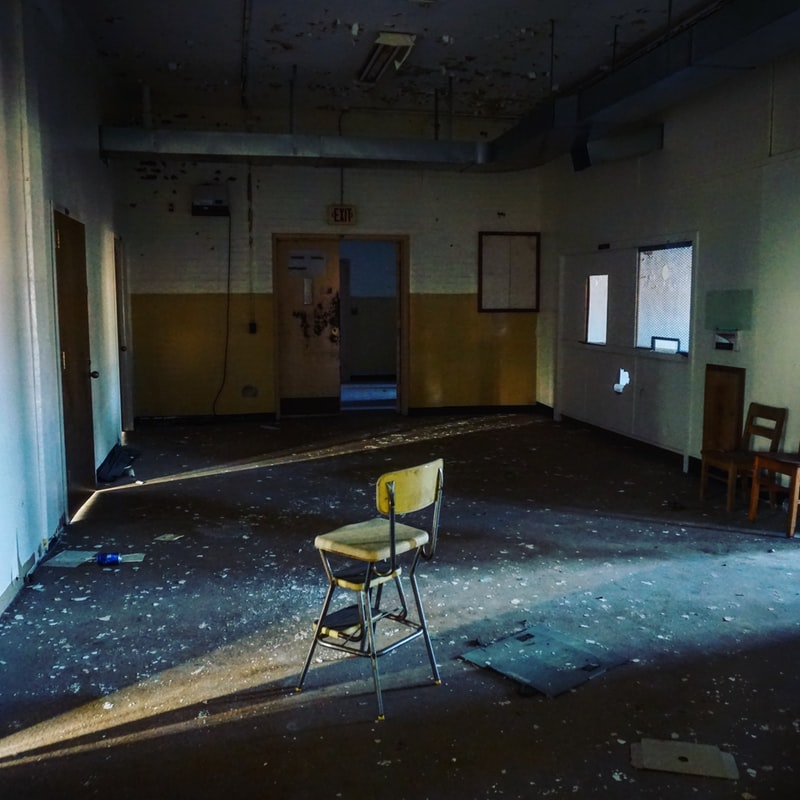
Water Damage Restoration
ASAP Restoration has seen this countless times. A customer calls us for water damage restoration and it turns out that they have been skimping on the towels when they shower or are utilizing a bad bathroom fan that doesn’t completely remove humidity from the room. When you can turn off any electricity to the affected area- if it is safe to do so. If there is standing water in your fridge then unplug it until you can get professional help as well as check all other appliances such as washers and dryers before reattaching them to power sources. No current must be running through these areas as there may still be electrical damage even after the water itself has dried up. A large part of drying out an area is not using the appliance or room until it has been properly dried. For instance, you want to make sure that the area where your fridge was is completely dry before plugging it back in and allowing mold spores to grow by leaving moisture on purpose. We recommend fans for this process like the ones we sell as they are affordable and work great. A dehumidifier or air-conditioner can also help expedite the process especially if there is a lot of humidity in the air. We find that people often don’t realize how much water damage restoration is done via vapor throughout an area so they may underestimate just how bad things were before our arrival as well as the amount of time needed for restoration efforts such as drying out walls and floors.
We offer water damage restoration services in Houston. Damage caused by the cycle of freezing and thawing can result in mold growth, which may be prevented by applying a sealant to the affected areas. Many property owners attempt to do this when hiring professionals is affordable or when they find that their garage has been invaded by mold. One common method is to use oil-based paint on porous surfaces such as drywall, but experts recommend using a silicone-based product instead. Another option for preventing future leaks is spraying with Kiltz to plug porous materials. When calling anytime for all your Water Damage related needs don’t forget we offer free estimates! No matter what time it is or what day of the week it might be our crew is standing by to handle your Water Damage Restoration needs. Just pick up the phone and give us a call or better yet, schedule your FREE estimate right now on our website. We are confident you will not find a lower price for our quality of work anywhere.
Professional Property Restoration
To remove loose paint. Brush away all sawdust, debris, and surrounding drywall. Scrape damaged areas with a putty knife to remove any dried glue or tape residue that would prevent the primer from adhering. Wipe down the walls with a clean rag soaked in solvent to remove sawdust, dirt, or oil-based paint stains. Lightly sand the seams, corners, and edges of your repaired wall with low-grit sandpaper to ensure smoothness. These areas must be well primed to achieve an optimal bond between wallpaper paste and walls. Apply a coat of adhesive primer using a roller brush, high-quality synthetic-bristle paintbrush, or an angle sash brush whichever you prefer. Allow it to dry according to the manufacturer’s instructions. Apply wallpaper adhesive with a trowel Using a notched trowel, apply an even coat of high-quality wallpaper adhesive to your walls. Be sure the notches are appropriate for your wallpaper design, as most designs require specific-sized notches for optimal results. Using the same type of tool you used on your primer will help ensure that it goes on smooth and evenly. If necessary, you can fill in any holes or cracks along the way by applying more drywall patching compound before you begin. When finished with the first layer, let it dry accordingly. Repeat steps two and three until your entire surface is completely covered with several coats of adhesive (usually four). You will want to dry between each layer with a fan or a handheld hair dryer on low heat. Fit your wallpaper to the wall The wallpaper should be fitting snugly over the seam. So you need a good quality paste that is more of a watery consistency, this will help it stretch and smooth out against the sticky texture of the adhesive. To avoid any creases or bubbles from developing under the paper use an applicator brush and carefully work its overall sections, slowly applying pressure as needed. Use an up-and-down motion to prevent pulling or wrinkling of the paper itself. Using consistent pressure means less bleeding through onto your previous layers which can happen if too much excess paste accumulates on your brush. Once you’ve done one section, move on to the next. Going over each seam with your wet brush once more, smooth out any air bubbles or wrinkles by pushing them toward the edges of the wall. Once you are satisfied with your work, use a squeegee to remove excess water and squeeze all moisture from underneath the wallpaper. For smaller creases like behind outlets and light switches, you can carefully apply heat with a handheld dryer until they disappear or flatten out to the surrounding surface.
This will prevent moisture from seeping into the joint and creating water stains in the future. Water damage restoration is a crucial process that, when performed correctly, can be extremely rewarding. To get started with water damage restoration there are several things you may need to do depending on how much damage your home or office has encountered after the flood. Also, remember that while some water may look clean there could still be unseen contaminants within it that pose further risks to humans and their health. Therefore, before you begin any type of cleanup around this dirty water you must take precautions so as not to get yourself sick later down the road. If possible try to find or purchase some sort of air-purifying respirator. This will help keep the toxic fumes from these contaminants away from your lungs, and more importantly, away from anyone else’s who may be involved with this water damage restoration process. Four main steps can be taken to properly restore a home, business, commercial building, or office after a flood has occurred: · Remove excess water · Extract remaining moisture · Dry everything out thoroughly · Restoring contents & sanitizing rooms/surfaces In some situations you may need to contact a professional for assistance as some areas included in the above process may prove difficult for those who have little knowledge of restoration work. Before contracting any outside parties though make sure they are fully insured and licensed with the local government to handle water damage, mold removal, or any other task that they may be asked to do. For example, when hiring anyone to remove excess standing water from your home you should ask for references and check each one personally to ensure this professional does his or her job effectively. This not only ensures your protection but also gives you peace of mind knowing that the job will be completed properly.